Osmo Guidance
For any questions, we are available throughout the week to share our professional experience with you. Give us a call Monday - Friday 8 am - 4 pm Central Time at 605-582-6677 and we’ll be happy to go into more detail.
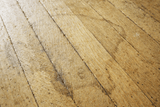
Below are recommendations for applying and maintaining your Osmo finished floor. Unlike conventional floor finish types, your floor can be easily brought back to life with a little maintenance and reapplication of oil, much like a pair of leather shoes. When properly cared for, an Osmo Hardwax oil finished floor will last virtually forever and will never have to be sanded. A wood floor finished with Osmo oil is resistant even to excessive wear and most liquid spills. Proper maintenance is simple.
Compare Finishes
TRADITIONAL OIL FINISHES
|
|
Basics:
|
|
Advantages:
|
Disadvantages:
|

POLYURETHANES & VARNISHES

|
Basics:
|
|
Advantages:
|
Disadvantages:

|
OSMO'S UNIQUE HARDWAX-OIL FINISHES

|
Basics:
|
|
Advantages:
|
Disadvantages: One system. All the advantages. None of the disadvantages. Why choose anything else?
|

INTERIOR

|
Polyx®-Oil 3054 |
 |
Polyx®-Oil 3031/3043 |
 |
Polyx®-Oil 3051
|
 |
2K Wood Oil
|
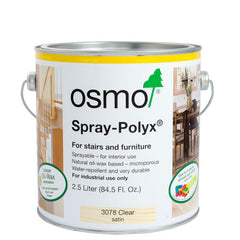 |
Spray Polyx®-Oil 3078/3082 |
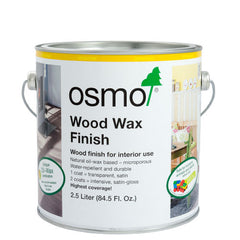 |
Wood Wax Finish |
 |
Oil Stain |
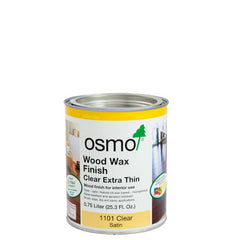 |
Wood Wax Finish Extra Thin |
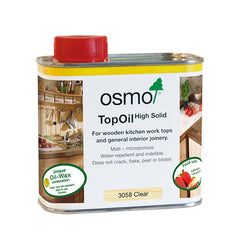 |
TopOil |
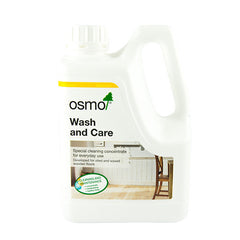 |
Wash and Care 8016 |
 |
Spray Cleaner 8026 |
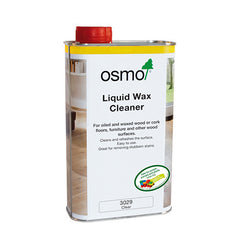 |
Liquid Wax Cleaner |
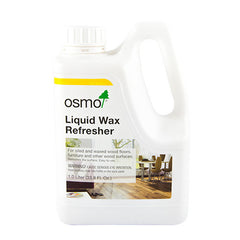 |
Liquid Wax Refresher 3015 |
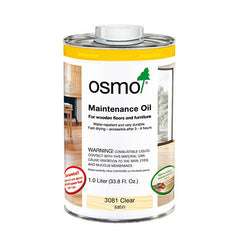 |
Maintenance Oil |
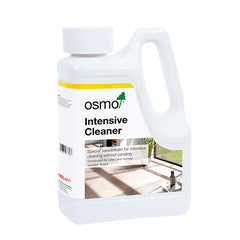 |
Intensive Cleaner 8019 |
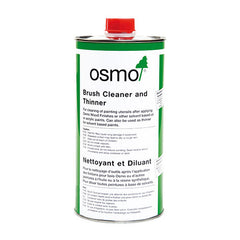 |
Brush Cleaner and Thinner |
EXTERIOR
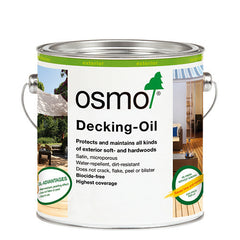 |
Decking Oil |
 |
Anti-Slip Decking Oil |
 |
End Grain Sealing Wax |
 |
One Coat Only HS Plus |
 |
UV-Protection Oil |
 |
UV-Protection Oil Extra - Safety Data Sheet |
 |
UV-Protection Oil Tints - Safety Data Sheet |
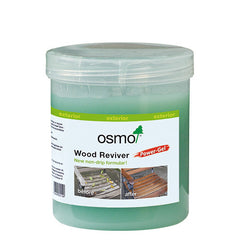 |
Wood Reviver Power Gel |
 |
Decking Cleaner |
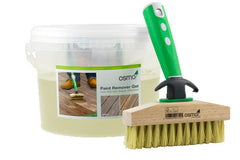 |
Paint Remover Gel - Product Information |
WOOD PREPARATION
Wood surface must be clean and dry (moisture content max. 20%). Clean or slightly sand old micro-porous finishes, remove old varnishes/lacquers by sanding. Small cracks, larger dents and small holes in the wood can be filled with Osmo Woodfiller. Sand carefully before application starting with a coarse paper – final sanding for flooring P100-150, furniture P180-240. Remove dust etc. thoroughly from the surface before application with a vacuum cleaner.
Perfect Sanding
PERFECT SANDING
Step-by-step
- Depending on the surface you may need to start with either a very rough or medium (P 40 then P 60 for removing old finishes – P 80 for raw wood) sanding grit. Important, please do not skip steps in grit whilst sanding. A drum/band sander should be used.
- 100 grit medium sanding paper using either a single disc or trio sanding machine or drum/band sander.
- Filling of cracks, splits, knots and damage (if required) using Osmo Wood filler (for up to 2 mm in depth).
- 100 grit medium sanding paper or mesh using either a single disc or trio sanding machine.
- 120 fine grit sanding paper or mesh using either a single disc or trio sanding machine.
Result
The surface will be very smooth, with a vivid optical character. You will be able to feel the direction of growth of the wood’s natural fibers. The surface will feel smooth along the grain and blunt against or across the grain. Always work with and along the wood’s grain to ensure perfect results.
EASY APPLICATION
How to manually apply Osmo…
Apply thinly and evenly along the wood grain with an Osmo Natural Bristle Brush or the Osmo Microfiber Roller, and spread well. Allow for good ventilation whilst drying. Apply a second coat as before. This should be applied onto a clean and dry surface. The final surface quality is dependent on the wood’s surface structure, we therefore always recommend to test the product on a small sample area before complete application.
How to mechanically apply Osmo…
Spread evenly with one of the Osmo Scrapers. Wait approx. 30-60 minutes, until the oil has penetrated the wood surface. Buff the oil into the surface using the Osmo FloorXcenter and a green pad. Directly after repeat the 1-3 steps with a second coat. Using a white pad, spread the finish evenly across the surface area.
Tip: If the buffing machine starts to leave streaks because of over-application of the product, we recommend turning the pad over or replacing it.
COLOR APPLICATION
Step-by-step
- Once you’ve chosen your desired color from within our range, apply onto a clean and dry surface. Apply thinly and evenly along the wood grain.
- The drying time may be 12 hours but it is strongly recommended to leave for at least 24 hours before applying the second coat. This is ensure the pigments have hardened to keep the intensity of color during application of the next coat.
-
for flooring
Apply a clear coat of Osmo Polyx®-Oil onto the dry surface and apply thinly and evenly along the wood grain.
for furniture and joinery
Apply a 1-2 coats of Osmo Polyx®-Oil onto the dry surface and apply thinly with an Osmo EasyPad or lint-free cloth. Work evenly along the wood grain leaving no streaks or wet patches.
Result
The finished surface will be very smooth, with a harmonious optical character with color. You will be able to feel the direction of growth of the wood’s natural fibers. The surface will feel smooth along the grain and blunt against or across the grain. Always work with and along the wood’s grain to ensure perfect results.
FLOOR CARE
How to maintain your floor with Osmo…
For regular cleaning, use Osmo Wash and Care to damp-mop the floor. For occasional refreshing and intensive cleaning, use Osmo Liquid Wax Cleaner which can be used to refresh dull or worn looking surfaces very easily.
How to maintain your deck with Osmo…
Apply Osmo’s Wood Reviver Power Gel in the direction of the wood grain. Wait for approximately 20 minutes, clean and rinse with plenty of water. After approx. 48 hours drying time, protect the now fresh-looking wood permanentely with a finish such as Osmo Decking Oils.
How to maintain your garden furniture with Osmo…
Apply Osmo’s Wood Reviver Power Gel in the direction of the wood grain. Wait for approximately 20 minutes, clean and rinse with plenty of water. After approx. 48 hours drying time, protect the now fresh-looking wood permanentely with a finish such as Osmo One Coat Only.
PROFESSIONAL CARE
How to professionally maintain your flooring and decking…
Wood surface must be clean and dry (moisture content max. 20%). Clean or slightly sand old microporous finishes, remove old varnishes/lacquers by sanding. Small cracks, larger dents and small holes in the wood can be filled with Osmo Woodfiller. Sand carefully before application starting with a coarse paper – final sanding for flooring P100-150, furniture P180-240. Remove dust etc. thoroughly from the surface before application with a vacuum cleaner.